
JVM
Fine-Grained Security Simplified
April 7th, 2011
A simple way to add fine-grained security to a Grails application: use annotations and a web filter.
Object Partners
Security plugin options for Grails have come a long way since I started working with Grails two years ago. Back then we had a few options for security plugins, with the Acegi plugin being the most popular. Last year, securing a Grails application became much easier with the release of the Spring Security Core plugin. Today we have more options than ever with the release of several Spring Security plugins that have been added as extensions to the core plugin (http://grails.org/plugin/spring-security-core). Grails developers can choose to add any of these optional plugins to customize the security of their application as much as they need (or want) to.
One of those plugins is the Spring Security UI plugin. This plugin provides user interfaces and basic functionality for user, role and requestmap management, user registration and forgot password functionality. The best part is that it’s fully customizable for your web application. In true Grails style, it is trivial to install and customize this plugin for your application.
Note: Since this is an extension of the spring-security-core plugin, you should already have the core plugin installed and running in your project before installing the UI plugin.
You can download the Spring Security UI plugin and find the documentation here… http://grails.org/plugin/spring-security-ui
Install the plugin by running the following command…
grails install-plugin spring-security-ui
Most of the controllers and views included with this plugin are intended to be part of a backend admin functionality. The registration and forgot password screens are meant to be exposed to all users.
For the purpose of this article, I’ll focus on customizing the forgot password screens and functionality in an existing application. Note: The forgot password functionality uses the Mail plugin to send emails (http://grails.org/plugin/mail), so it should also be installed and configured in your application as well.
The Spring Security UI plugin provides an option to add a new login screen to your application which will replace the Spring Security Core plugin’s default login.gsp. This login screen will include links to the user registration and forgot password screens that were created during the installation of the UI plugin. If you’ve already customized the core security login.gsp, you can add these links to your application manually instead.
To replace the existing login.gsp file in your application with the new one provided by the Spring Security UI plugin, run…
grails s2ui-override auth
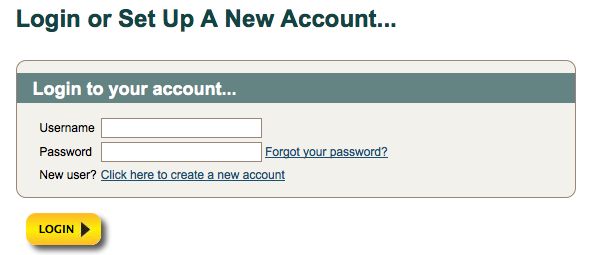
For our application, we already have a customized login screen, so I added the links to the existing screen manually. The code to add a link for the forgot password functionality is…
<g:link controller=“register” action=“forgotPassword”>Forgot your password?</g:link>
Here is our customized login screen with the forgot password link…
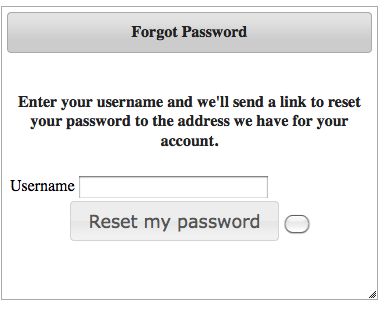
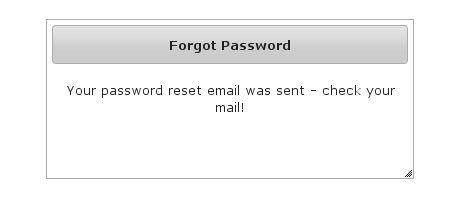
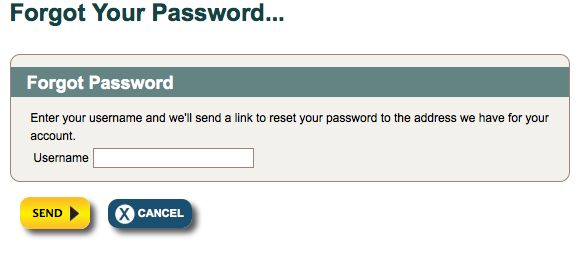
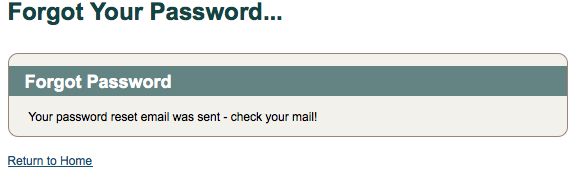
Clicking on this new link will bring you to the default functionality (included with the Spring Security UI Plugin installation) for forgot password. The default views you get with this plugin are what you’d expect to get from Grails scaffolding. If everything is setup correctly in your Spring Security Core plugin and Mail plugin installations, these screens should just work. They’re not pretty, but they are functional.
Unless you are planning on using all the default screens and functionality in your application, you will want to do some level of customization. The Spring Security UI plugin makes it very easy to customize any part of this plugin by providing a s2ui-override script. Running the s2ui-override script for the appropriate type will add the necessary controller (if applicable) and views to your application for you to use to override the default functionality.
The controller that is created by this script will be empty and extend the corresponding plugin controller. The GSPs that are created by this script are copies of the corresponding plugin GSPs. (see the plugin documentation for a list of all the s2ui-override script types available)
The general syntax for running this script is…
grails s2ui-override <type> <controller-package>
To customize the forgot password functionality, we need to run the s2ui-override script with the register type and give it the location where it should create the RegisterController. So, for example…
grails s2ui-override register com.yourapp.register
After running the script, the screens should look and function exactly the same, but you’ll notice some new files have been added to your application… • controllers/com/yourapp/register/RegisterController.groovy • views/register/forgotPassword.gsp • views/register/index.gsp • views/register/resetPassword.gsp • views/layouts/register.gsp
That’s it, now you can customize away by overriding the actions and methods in
You could override any of these actions to turn off functionality, or redirect to another controller in your application. For the forgot password functionality, you’ll want to look at the forgotPassword and resetPassword actions. For the purpose of our application, I needed to make a few tweaks to these actions. Mainly small changes to get the code to work with our domain. I also modified the code to customize the password validation and the error handling.
As for the views, you could either modify the GSP files to style them for your application, or you could strip out all of the default code and replace it with your own, custom code. The UI plugin also provides a layout and a stylesheet. The layout.gsp is copied into your application, which you can modify to fit your application design. The CSS is file is in the plugin directory and is located at
All of the text on the screens is also customizable by overriding the default message.properties file (located at
One other thing to note, if you only want to override the forgot password functionality, you can remove the views/register/index.gsp from your application. In my case, I also removed the views/layouts/register.gsp file because we already have a layout defined in our application.
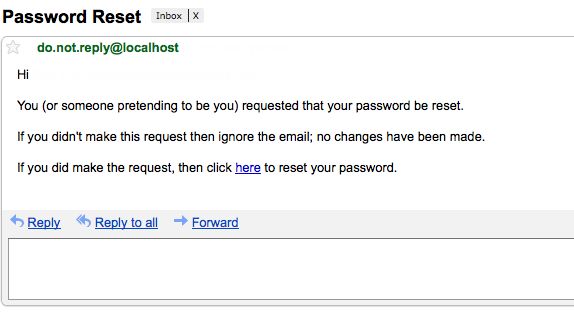
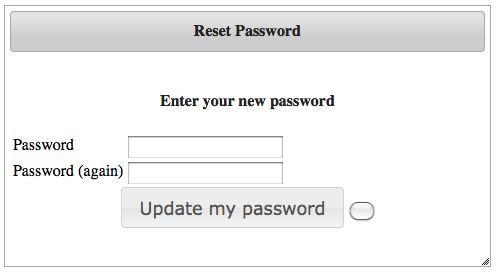
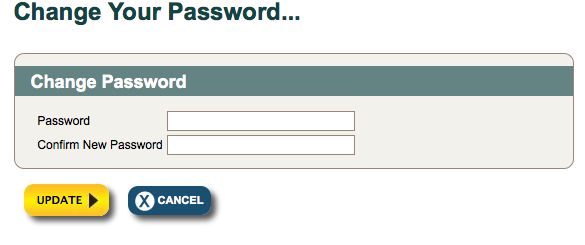
Here are the final screens in our application after I completed my customization of the forgot password screens in the Spring Security UI plugin…
A simple way to add fine-grained security to a Grails application: use annotations and a web filter.
Examples on how to use some of the MyBatis annotations and Spring.
Object Partners is proud to be the premier sponsor of this years GR8 in the US Conference. The conference, dedicated to Groovy, Grails, Griffon and other GR8 technologies is now open for registration at <a href=http://gr8conf.us>gr8conf.us</a>.
Insert bio here
